Well Android Studio 3.1 is out! It comes along with some new stuff in the package including bug fixes which you can read more about from here and here. As we all know or as said on the its official site,
Android Studio is Android's official IDE. It is purpose-built for Android to accelerate your development and help you build the highest-quality apps for every Android device.
This post is mainly going to walk you through how to get it installed, up and running on your linux installation. Ok then, so lets get started.
- You need to install some packges needed for android studio to run. Ensure you are connected to the internet, open your terminal and execute:
Fedora, Korora[ignis@IGNIS-PC ~]$ sudo dnf install -y compat-libstdc++-296.i686 compat-libstdc++-33.i686 compat-libstdc++-33.x86_64 ncurses-libs.i686Redhat, CentOS
[ignis@IGNIS-PC ~]$ sudo yum install -y compat-libstdc++-296.i686 compat-libstdc++-33.i686 compat-libstdc++-33.x86_64 ncurses-libs.i686 - Download the android studio zip file from here, about 853MB in size. Extract the zip file to /opt
[ignis@IGNIS-PC ~]$ sudo unzip -q Downloads/android-studio-ide-173.4720617-linux.zip -d /opt/this assumes the downloaded file is inside Downloads in you home directory.
- Start Android Studio for the first time.
[ignis@IGNIS-PC ~]$ /opt/android-studio/bin/./studio.sh -
You will be presented with the following dialogue box. If you have previously installed android studio and have certain configurations that you may want to keep. Then select the first option and browse to the directory that contains those files, but in this case. its a new install so select "Do not import settings" and the click ok button.
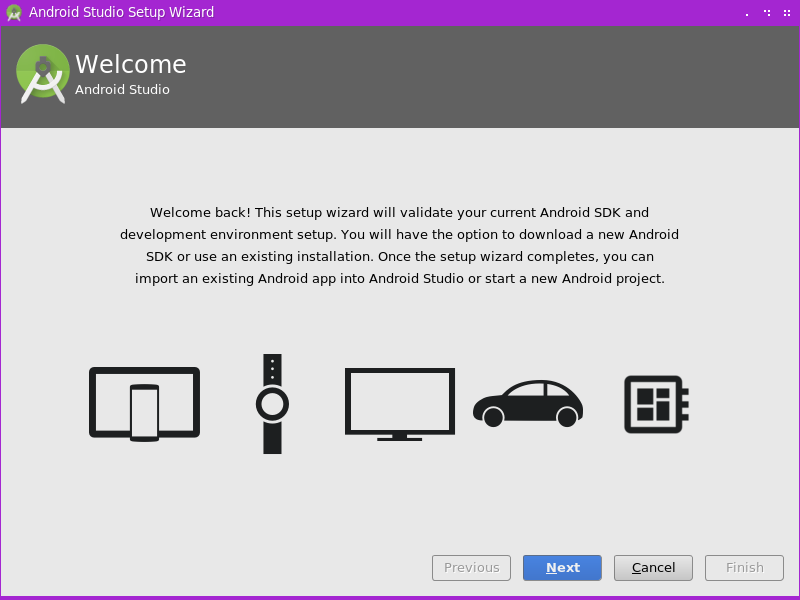
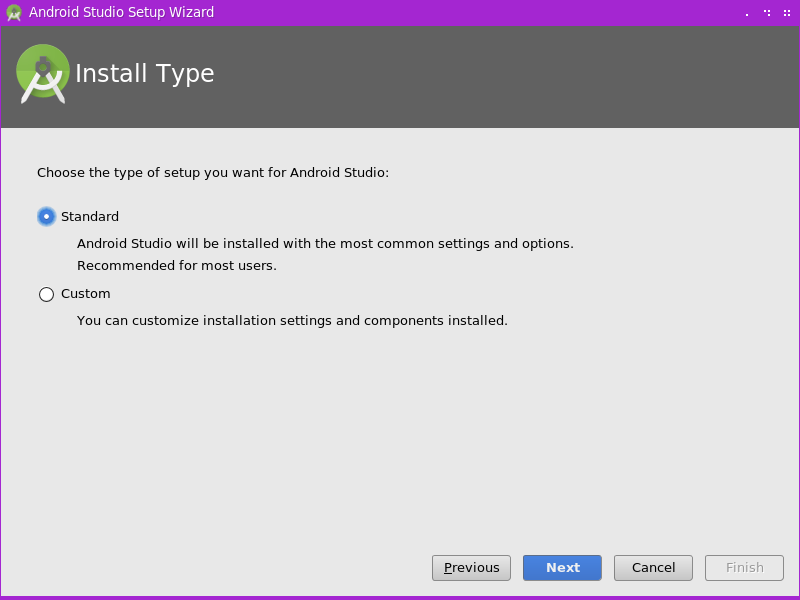
- Next is a short wizard to help you setup the android SDK. This starts with the welcome screen where you click on next to start. On the install type screen select "Standard" and proceed to the next screen.
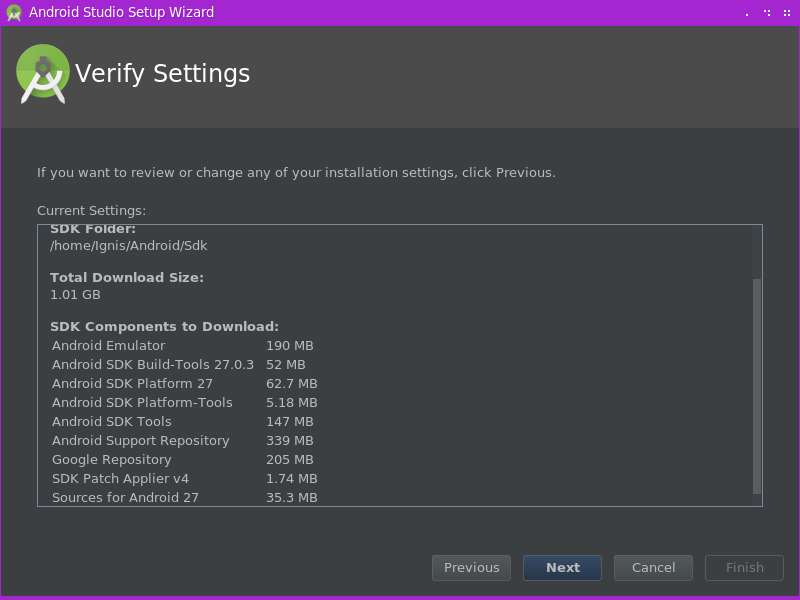
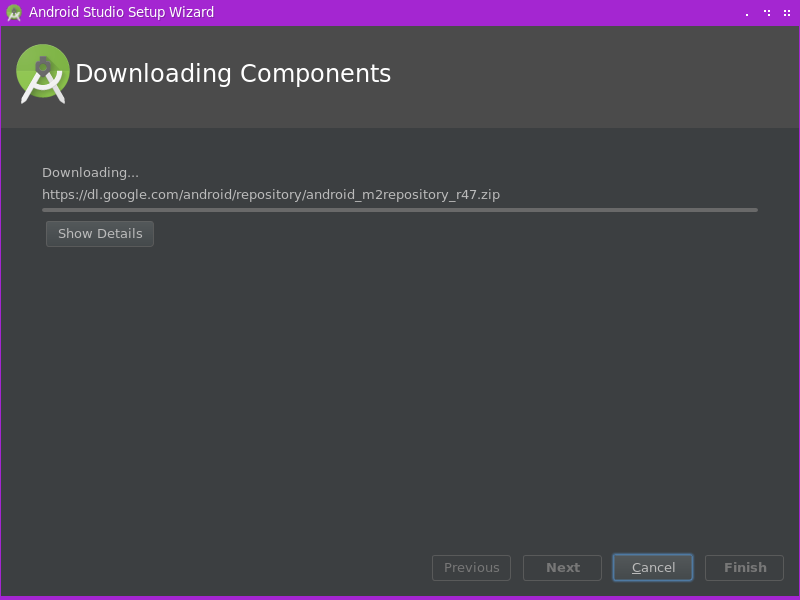
- On the next page you select your prefered UI Theme and proceed to the next page where you verify your settings. Proceed to the next page and click finish.
Note: The SDK files will need to be downloaded from the internet, therefore ensure you have got an internet connection
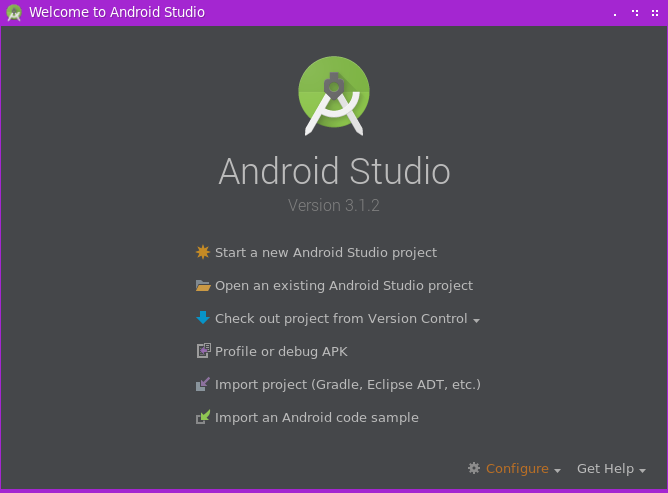
- When all downloads have successfully completed, you will be taken to the Android Studio Welcome page.
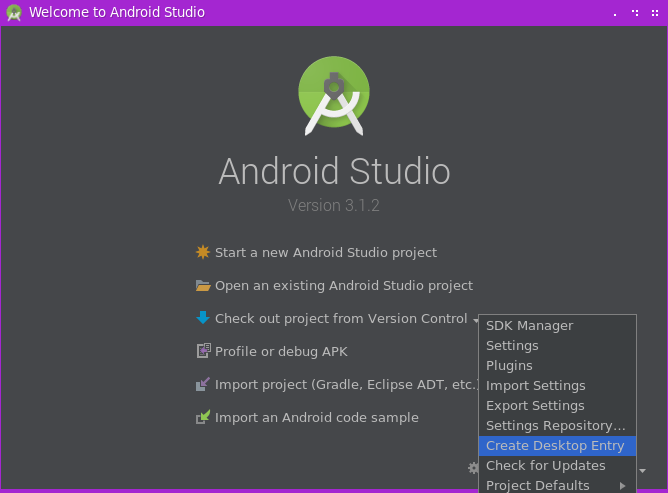
- Finally instead of always having to start Android Studio directly from the terminal, you might want to just start it from your application menu. This can be done directly from the welcome screen of Android Studio. Just click on the Configure menu at the bottom of the welcome screen and from the drop down menu, click on "create desktop entry".
- You will be presented with the Create Desktop Entry dialogue box, if you need to allow all users have that menu entry then check the box, provide password if requested and you're done!
You should now have Android Studio fully installed and accessible from your application menu.


